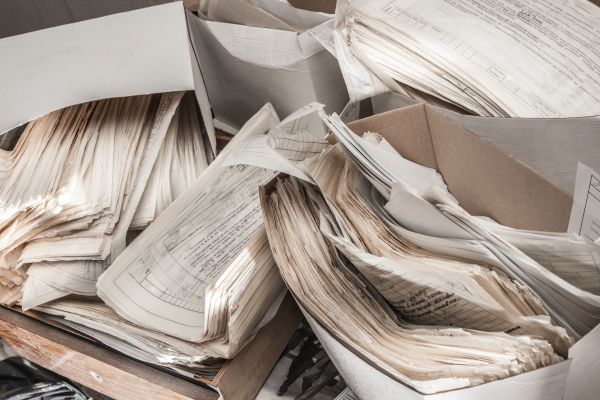
One thing we and many of our clients have adapted to — in addition to virtual meetings — is digitally creating, saving, sending, signing, and submitting documents. We’ve found that, even if you don’t have document-scanning hardware, going paperless is easy! So easy that you can say goodbye to that filing cabinet in no time.
And, with more time at home, it just might be the perfect opportunity to add some new tech-tools to your belt. Let us show you how you can securely start converting your paper clutter into easy-to-save, easy-to-share files.
Making the Switch to Digital Documents
If your filing cabinet is bigger than your computer, your filing cabinet is too big. Let’s look at how you can securely turn your paper documents digital:
1. You can scan your documents with a dedicated scanner or all-in-one printer.
2. You can also scan — without hardware — using any one of the numerous scanning apps available for mobile.
Hint: If you have an iPhone, there’s a scanner already built into your Notes app.
3. You can photograph your documents with a digital camera or your phone.
Read on for some ways to save time, space, and frustration when saving and sending documents.
Best Practices
Use compression, character recognition, and the lowest thoroughly legible resolution possible so you can save, share, and find with ease. If any of that sounded like a foreign language, let me make it simple and share some best practices.
File type — After scanning or photographing, save your digital documents as PDF (portable document format) files. This file type is widely used, making it easy for your file recipients to open what you send — without having to download a PDF reader, in most cases.
Resolution — As you turn your paper files into digital masterpieces, keep in mind that you’re not preserving your family photos when you scan a document like a tax return or a W2 to save or send to someone (although you certainly can scan and send those, too!). A key to keep in mind with text documents is that maximum quality isn’t necessary. Higher-quality files take up more space and can make saving and sending them a hassle. In general, 300 dpi (dots per inch) is sufficient for text document scans. If you can read your scanned digital document without difficulty, you’re good. Not only can this speed up the time you spend scanning but it also helps keep file sizes small so they’re easier to save and send.
Black and white scanning — Since color usually isn’t critical for documents like it is for photos, it’s best to scan documents in black and white to reduce the file size.
Compression — Already scanned your documents … but the quality is high and, therefore, file size is too large? Try compressing your file to a smaller size. Most PDF readers offer the ability to reduce the file size, and many online sites offer the same capability for free.
Character recognition — Wouldn’t it be nice if you could search for words or phrases in long documents without having to read or skim through page after page? Without character recognition, your document scans appear as images. But with the letters in your document identified, you can easily search using keywords. Recognize characters as you scan using your scanner software or through your PDF reader using an OCR (optical character recognition) feature. You can then search your document using “command + F” on Mac or “Control + F” on Windows. Keep in mind that OCR tools aren’t always perfect. If you’re copying and pasting text from a document with recognized characters, be sure to check what you paste against the original.
File naming — Don’t forget about making your file names searchable so you can find documents before opening them. Find a naming convention that works for you. You may include the date and a keyword you can use to easily identify what type of document is in the file. If you’re also storing documents for a partner, family member, or friend, consider adding your names to the file name for easy identification.
One final tip: Some scanners can also straighten out skewed pages as they process scans, and many PDF readers offer the ability to do the same.
Document Destruction
Once you’ve scanned and saved your documents, it’s time to back up and shred! Make sure you’re preserving your documents locally and that you have them backed up to a separate secure location. Today’s technology permits you to do this securely for no to relatively little cost. A simple way is to save your files on your hard drive and also upload them to the cloud or to an external disk or hard drive. This way, you have a backup — or multiple backups — of the originals. Then turn your originals into confetti using a shredder.
If you’re wondering what to save and shred, check out Spring Cleaning for Paperwork Privacy.
With the right system, you never need to contemplate what to keep and what to pitch. You can preserve it all, indexed and ready to search.
